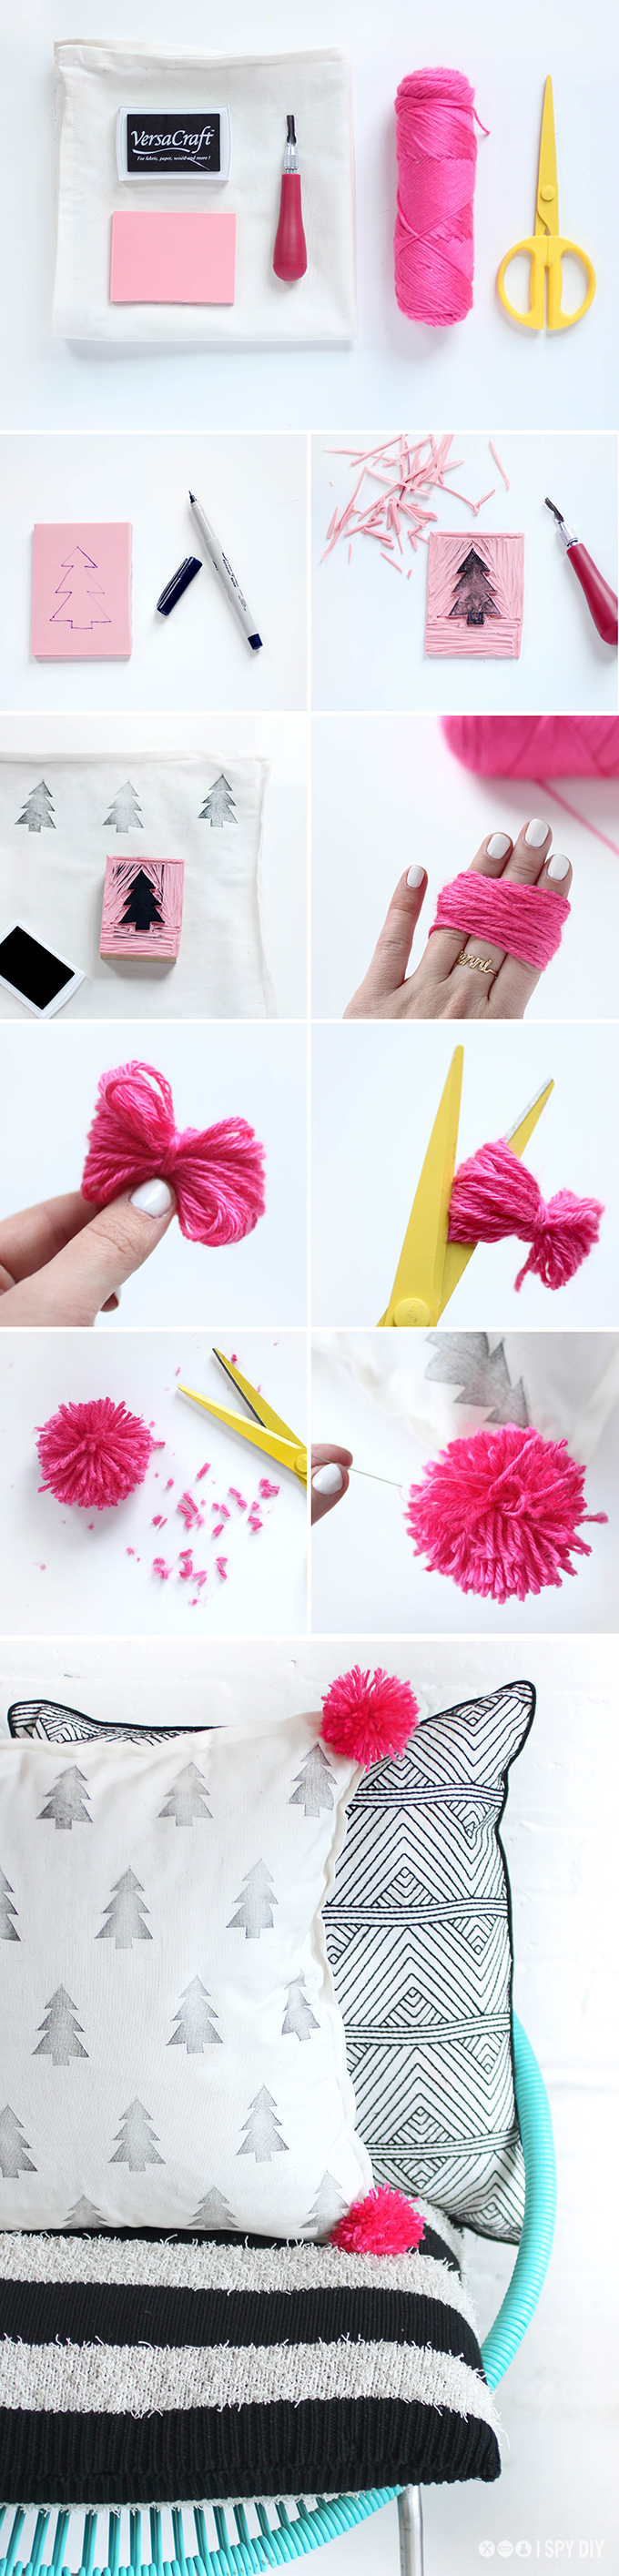
Pom Pom Printed Holiday Pillow:
What you need:Carving Block
Carver with assorted cutters
Fabric Ink pad
Pillow Case
Yarn
Scissors
What you need:Carving Block
Carver with assorted cutters
Fabric Ink pad
Pillow Case
Yarn
Scissors
What to do:
First, draw your tree design on the carving block.
Then, carve away everything outside of the tree.
Press stamp into ink and create a pattern on your pillow.
First, draw your tree design on the carving block.
Then, carve away everything outside of the tree.
Press stamp into ink and create a pattern on your pillow.
To make the pom pom:
Wrap yarn around three finger
Next, take the yarn off your hand and tie another piece around the middle of the yarn, tie in a knot
Then, cut the loops
Trim uneven ends
Next, sew pom poms on to your pillow corners.
Then, cut the loops
Trim uneven ends
Next, sew pom poms on to your pillow corners.
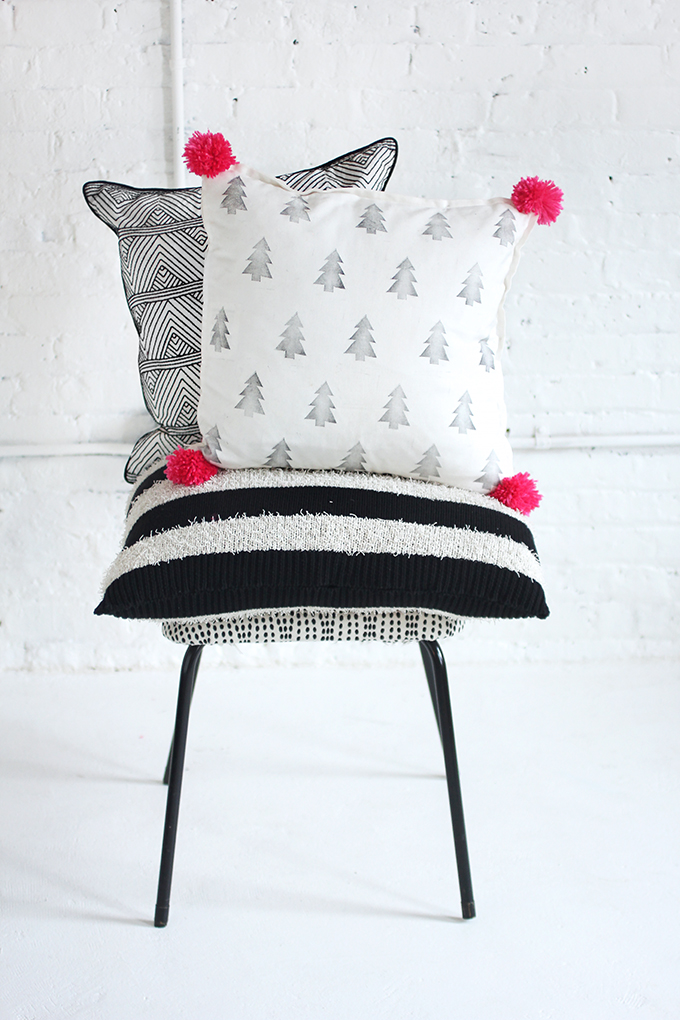
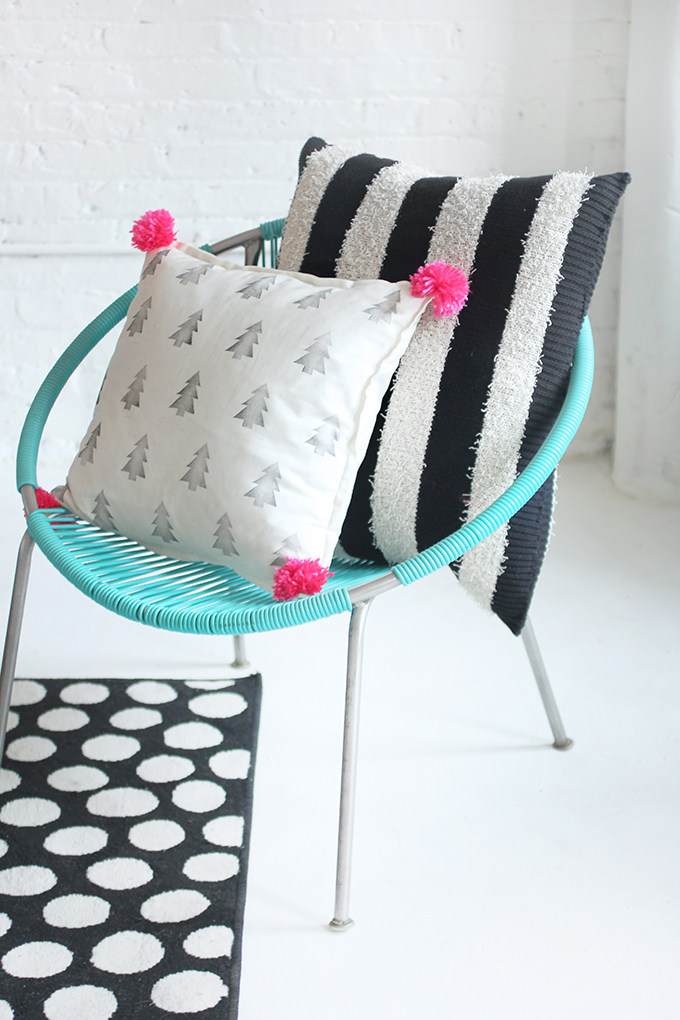
Done!
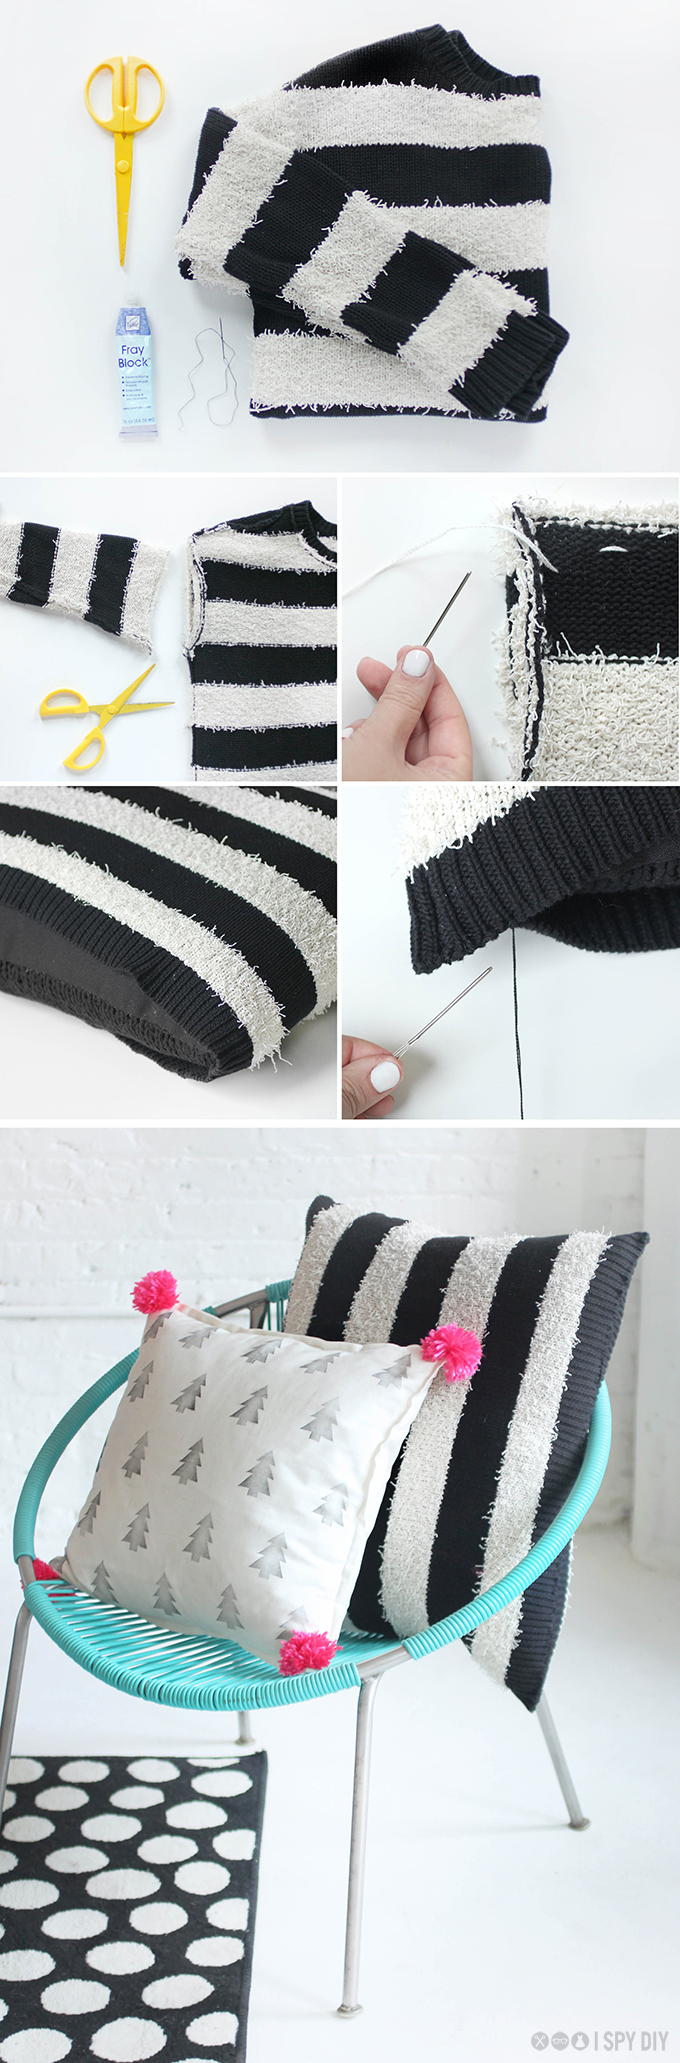
What you need:
Scissors
Needle and thread
Fray Block (optional)
What to do:
First, cut off the sleeves and the neckline of the sweater to create a square.
If needed, use fray block to stop unraveling.
Turn sweater inside out. Then, whip stitch the neck and arm holes closed.
Turn right side out, and put pillow inside.
Whip stitch the bottom with matching thread to close.
Done!